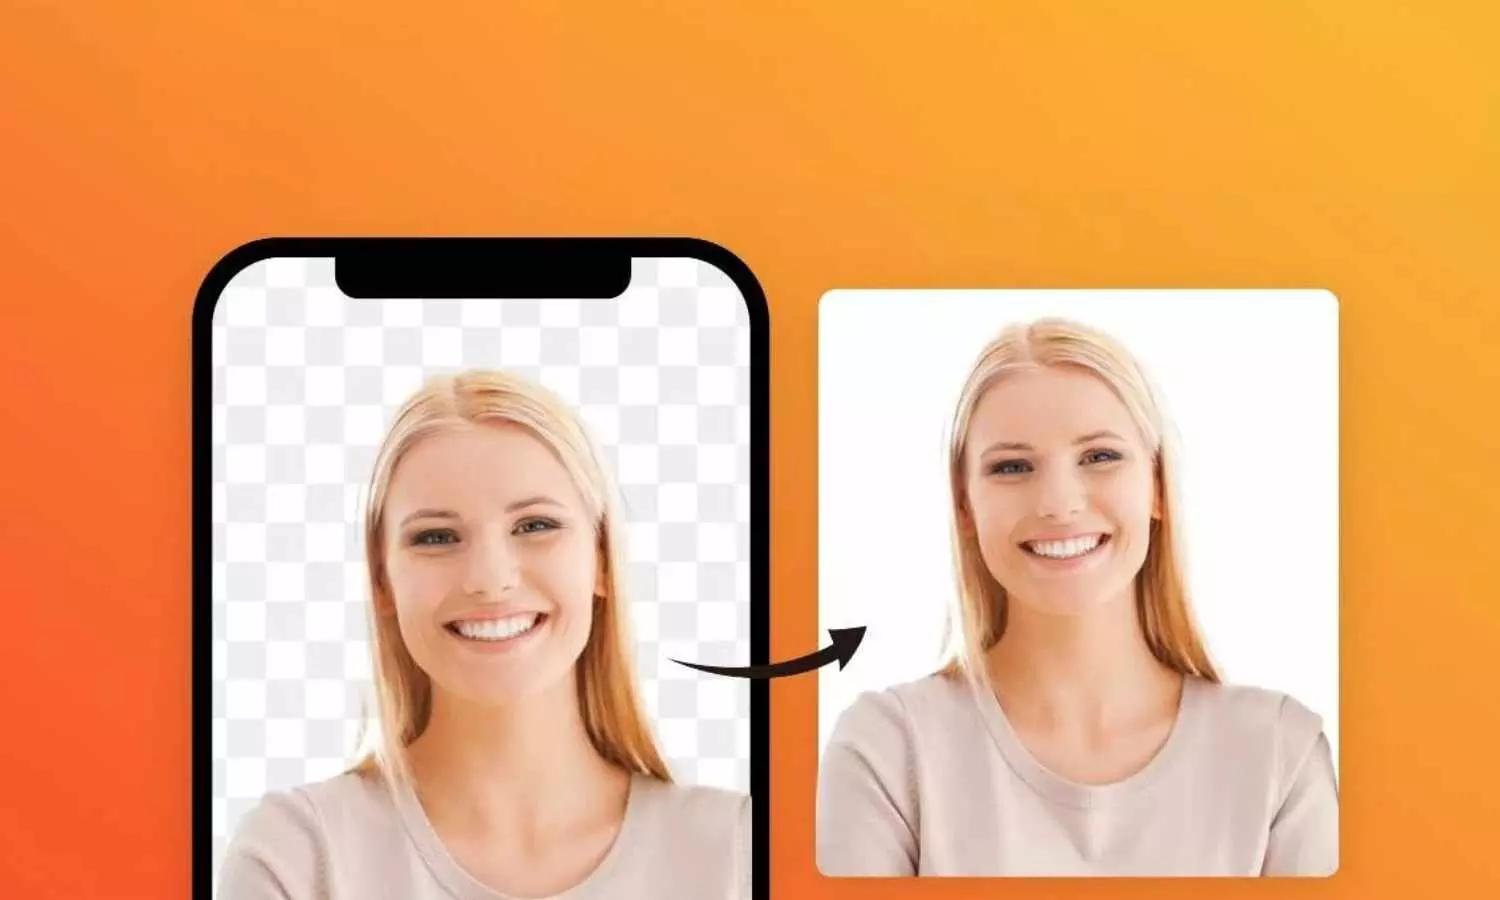
From Upload to Delivery: Building an End-to-End Passport Photo Funnel with GoHighLevel
Learn how to build a complete end-to-end passport photo funnel using GoHighLevel – from upload to delivery. Streamline photo processing, automation, and customer flow.
From Upload to Delivery: Building an End-to-End Passport Photo Funnel with GoHighLevel

The rise of digital-first services has revolutionized how we handle tasks like taking and submitting passport photos. What once required a trip to a local pharmacy or studio can now be completed in minutes using a smartphone and the right app. If you're offering a passport photo app service, streamlining the process is key to scaling your operation and keeping customers happy. With GoHighLevel, you can automate nearly every part of the journey—from the moment a user lands on your site to the final photo delivery.
In this guide, we’ll walk through how to create an end-to-end passport photo funnel using GoHighLevel, including:
● Lead capture and landing page setup
● Automated workflows for photo submissions
● Payment and invoicing integrations
● Image editing and delivery processes
● Review collection and retargeting
Let’s dive in.
1. Lead Capture and Landing Page Setup
Start by creating a high-converting landing page in GoHighLevel. The goal here is to quickly communicate the value of your service and get visitors to submit their photos.
Include these key elements:
● Clear headline: “Get a Passport Photo Approved in 24 Hours — No Studio Visit Needed”
● Brief subheading explaining the process
● Step-by-step infographic or icons to show the process
● File upload form (can be integrated via a third-party plugin or redirect to a photo upload page)
● Call-to-action (CTA): “Upload Your Photo Now”
● Use GoHighLevel’s built-in funnel builder to design the page and embed a form to collect customer details: name, email, phone, and file upload confirmation.
Pro Tip: Create separate landing pages for different use cases (e.g., U.S. passport photos, Canadian passport photos, visa photos, etc.) to improve ad relevance and conversion rates.
2. Automated Workflows for Photo Submissions
Once a customer submits their details, it's time to kick off an automated workflow.
Here’s how to build it:
Trigger: Form submission or photo upload confirmation
● Step 1: Send an automated SMS/email confirmation to the customer
● Step 2: Notify your internal team or contractor to begin photo processing
● Step 3: Tag the contact as “In Progress”
Optional: Include a link to request any missing information (e.g., "We noticed your photo was blurry. Please upload a new one here.")
You can customize these workflows to branch based on responses, deadlines, or customer tiers (e.g., express delivery vs. standard).
3. Payment and Invoicing Integrations
You can easily integrate Stripe or PayPal with GoHighLevel to collect payments upfront.
Options include:
A checkout page before photo upload
Upsells or add-ons (e.g., express 6-hour delivery, printed copies mailed to your home)
Auto-generated invoices sent to customers upon purchase
Set up a separate workflow to handle payment confirmation:
Trigger: Successful payment
Step 1: Tag contact as “Paid”
Step 2: Move customer to the photo processing pipeline
This ensures that only paying customers are added to your task queue.
4. Image Editing and Delivery Processes
Your editing process may be manual or semi-automated (using tools like Photoshop actions or AI-based cropping software).
Regardless, once the edited photo is ready:
Upload the final image to a cloud service (e.g., Google Drive, Dropbox)
Use Zapier or GoHighLevel webhooks to automatically generate a secure share link
Create a delivery workflow:
Trigger: Upload confirmation or webhook received
● Step 1: Send SMS/email to the customer with the download link
● Step 2: Tag contact as “Delivered”
● Step 3: Wait 24 hours and trigger a review request email
Pro Tip: Include a checklist in your delivery email: "How to Print and Use Your Passport Photo" to reduce confusion and support tickets.
5. Review Collection and Retargeting
Once a photo is delivered, don’t let the customer journey end there.
● Use GoHighLevel’s reputation management tools to:
● Send a review request 24-48 hours after delivery
● Redirect happy customers to your Google Business or Trustpilot profile
● Capture any negative feedback internally to address issues fast
Retargeting
● With email and SMS data collected, set up nurture sequences for future offers:
● Reminders for passport renewals (set a timer for 9.5 years)
● Discounts for family or group photo services
Cross-sell other ID photo types (e.g., visas, student IDs, work permits)
You can even export your contact list into Facebook Custom Audiences to run retargeting ads to past users.
Final Thoughts
Using GoHighLevel to power your passport photo service isn't just about automation—it's about creating a seamless, professional experience that scales effortlessly. Whether you're a solopreneur or running a multi-person operation, this end-to-end funnel frees up your time and increases conversions.
From the first click to final delivery, every step is mapped, measured, and optimized. All you need to do is set it up once, then let the system run.
Need help building your GoHighLevel passport photo funnel? Let us know—we can help you launch in a weekend.

