Update your EPFO bank details for hassle free withdrawals
The Employees’ Provident Fund (EPF) scheme, overseen by the Employees' Provident Fund Organisation (EPFO), serves as a financial safety net for private sector employees upon retirement.
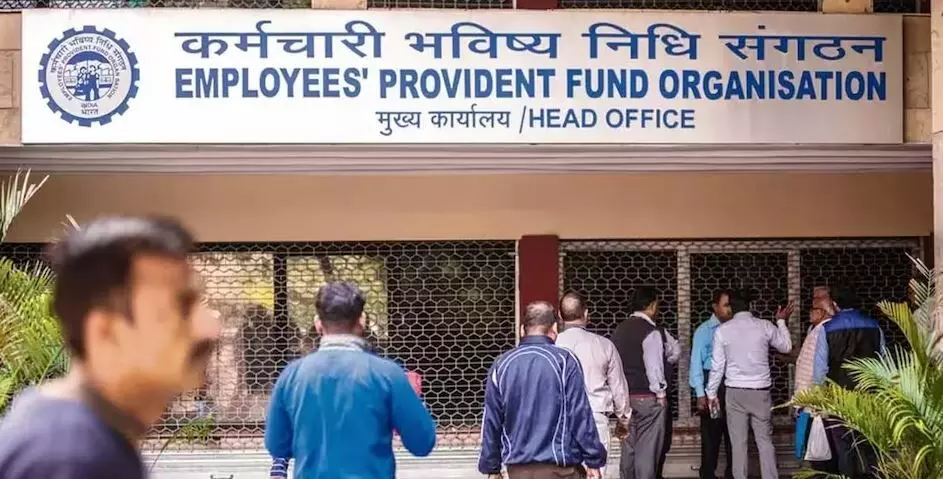
image for illustrative purpose

The Employees’ Provident Fund (EPF) scheme, overseen by the Employees' Provident Fund Organisation (EPFO), serves as a financial safety net for private sector employees upon retirement. To be a part of this scheme, employees contribute 12 percent of their basic salary and dearness allowance each month, with employers matching this amount.
Upon retirement, employees have the option to withdraw their total EPF amount, and under certain circumstances, advance withdrawals are also permitted. To ensure a smooth withdrawal process, it is crucial to keep your bank details up to date in the EPFO records.
EPF accounts house vital information, including an employee's name, mobile number, address, nominee, bank details, and more. Regular contributions are deposited into these accounts. However, failing to update your bank details can lead to complications when attempting to withdraw funds from your PF account. Fortunately, EPFO offers members the ability to activate their account and update bank account details through the EPFO employees’ services portal.
Why is it essential to update bank details in the EPF account?
EPF accounts are designed to store all information and deposits related to an employee's provident fund, especially those earmarked for retirement benefits. Accurate and current bank details are essential to facilitate seamless fund withdrawals.
How to update bank details in the EPF account?
1. Visit the EPFO's member portal at https://unifiedportal-mem.epfindia.gov.in/memberinterface/.
2. Log in using your credentials, such as your UAN number and password.
3. After logging in, access the 'Manage' option in the top menu and select 'KYC.'
4. Choose your bank.
5. Update your account details, including the bank account number, name, IFSC code, and other relevant information.
6. Confirm your changes and click 'Save' to proceed.
7. Once the details are saved, you can view them under the 'Pending KYC' section.
8. Submit the necessary documents to your employer.
After document verification, the status will change to 'Digitally Approved KYC,' and you will receive a confirmation message on your registered mobile number.

